As we’re continuing to look back on our 30 years in surface texture measurement, we thought it would be interesting to look at how far measurement technology has come over the years. As you might expect, it’s come a long way!
To help our comparison, let’s track how the surface of a component like this clutch plate may have looked in measurements over the last 90 years.
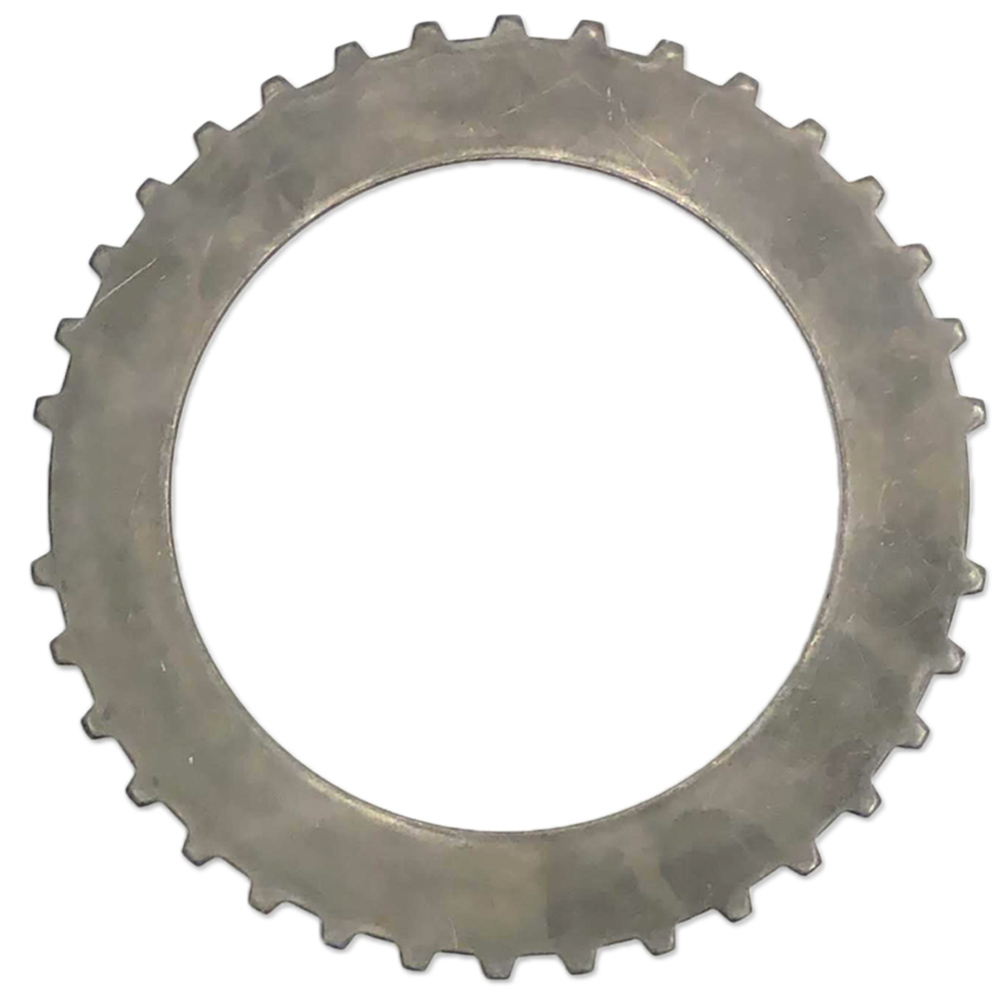
How would the surface of this clutch plate have appeared in measurements over the years?
1930s–1980s: Surface roughness in 2D
The world of surface measurement was two-dimensional from the 1930s all the way through the 1980s. Stylus-based measurement systems, in which a sharp stylus is dragged over a surface to trace surface heights, was essentially the only measurement technology through this entire period.

A 2D stylus trace pre-1990, consisting of roughly 1000 sampling points with 1 µm spacing.
1980s–1990s: the early days of 3D
In the late 1980s and early 1990s, faster computers made it possible to acquire 3D surface data and to store and display the massive amounts of 3D surface information for the first time. The earliest systems presented surface data as wire frame meshes, like the one shown below. Users could now see “texture” in all directions, rather than roughness along a single cross-sectional trace.
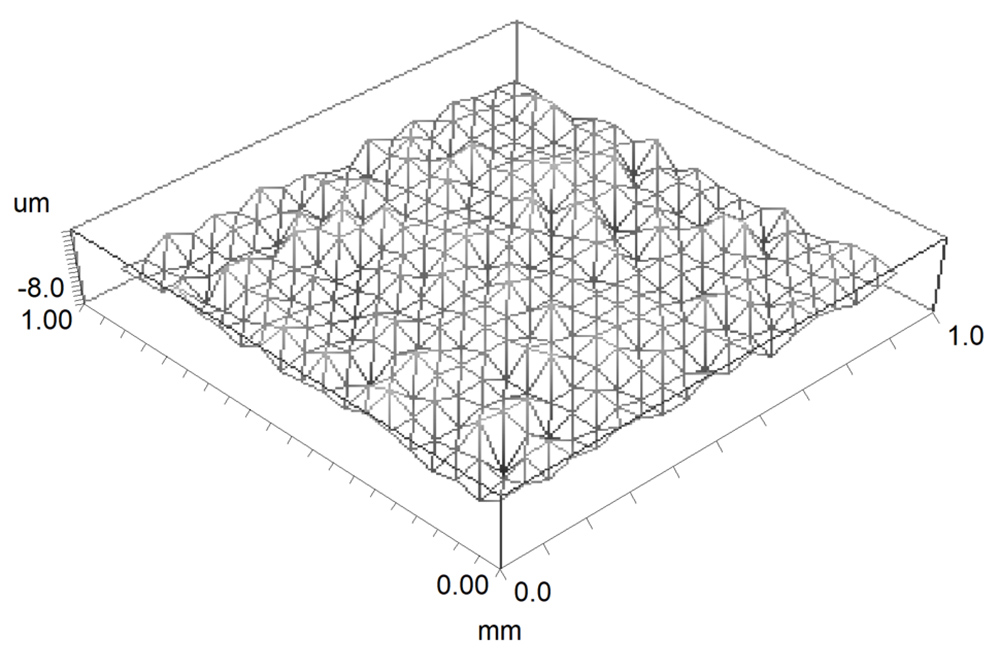
This mesh of surface texture data shows shape in all directions, but not much detail.
1990s–2000s: leaps and bounds in 3D development
Early commercial “3D optical profilers,” like the WYKO RST Plus, gained traction in the 1990s. These systems included hardware advances such as “turrets” with multiple magnification objectives and automation to bring measurements out of the labs and onto production lines. They also included a suite of software for visualizing and quantifying surface texture—leveraging computer processing power to display 3D data in greater and greater detail.
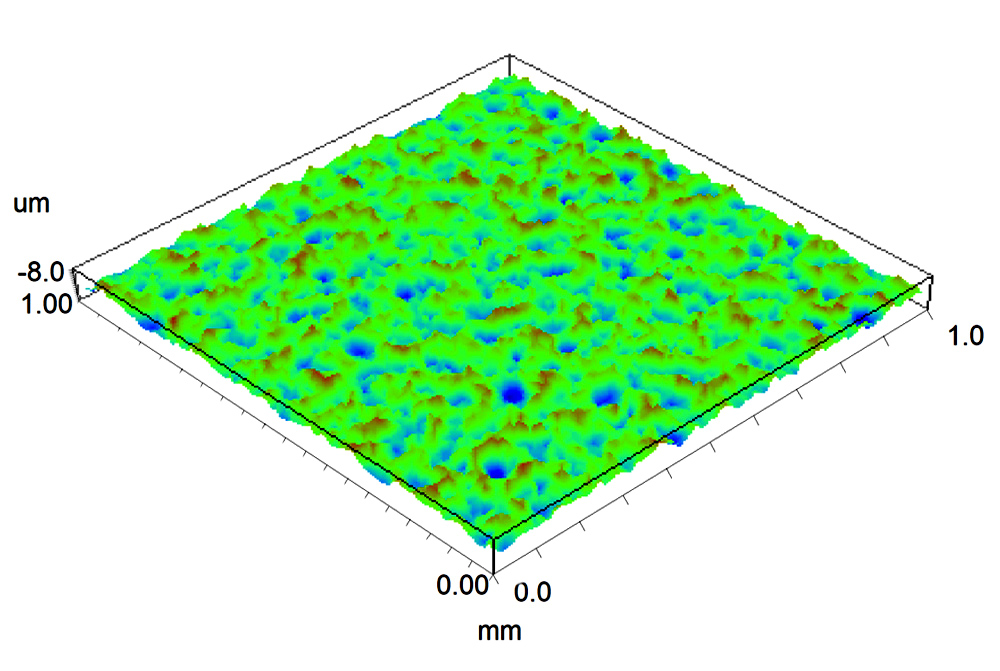
3D texture data circa 1992, showing heights in a false color contour plot.
2010s–2020s: better resolution, larger measurement areas
With 3D measurement now established and proven, manufacturers raced to improve all aspects of the hardware and analysis software. Instruments now featured increased vertical and lateral resolution, higher step height measurement capabilities, faster scan times, and “stitching” to combine many measurements. Advances in analysis capabilities came fast and furious as well, and eye-popping graphics made texture not just visual, but interactive as well. All these advances opened new applications for 3D measurement, from semiconductors to biomedical devices and advanced machining.
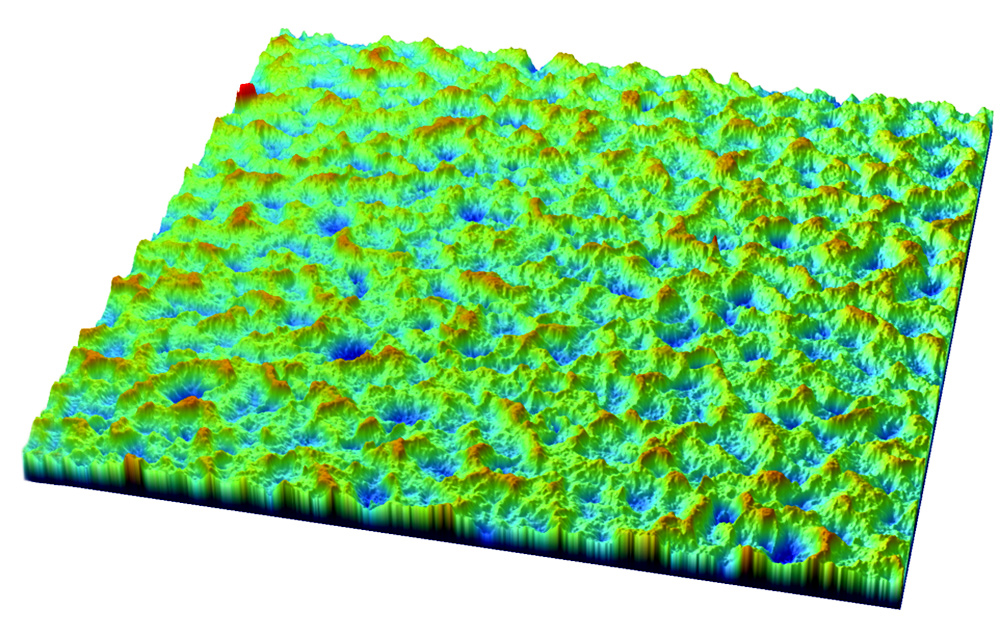
High resolution 3D texture data of the clutch plate reveals individual indentations from shot peening.
State-of-the-art 3D surface texture measurement
Today, there are multiple, non-contact, 3D optical technologies, including white light interferometry, confocal microscopy, etc. These mature technologies are now available in a vast array of formats, from tipping/tilting 3D optical profilers (like the Bruker NPFlex in our lab) to handheld gages that enable shop floor inspection. We can measure vast areas of a surface in high resolution, and, with modern optics and hardware, we can image texture on the curved surfaces of difficult to reach features. Measurements like the one below would have been impossible just a few years ago—yet in a lab like ours they are now commonplace!
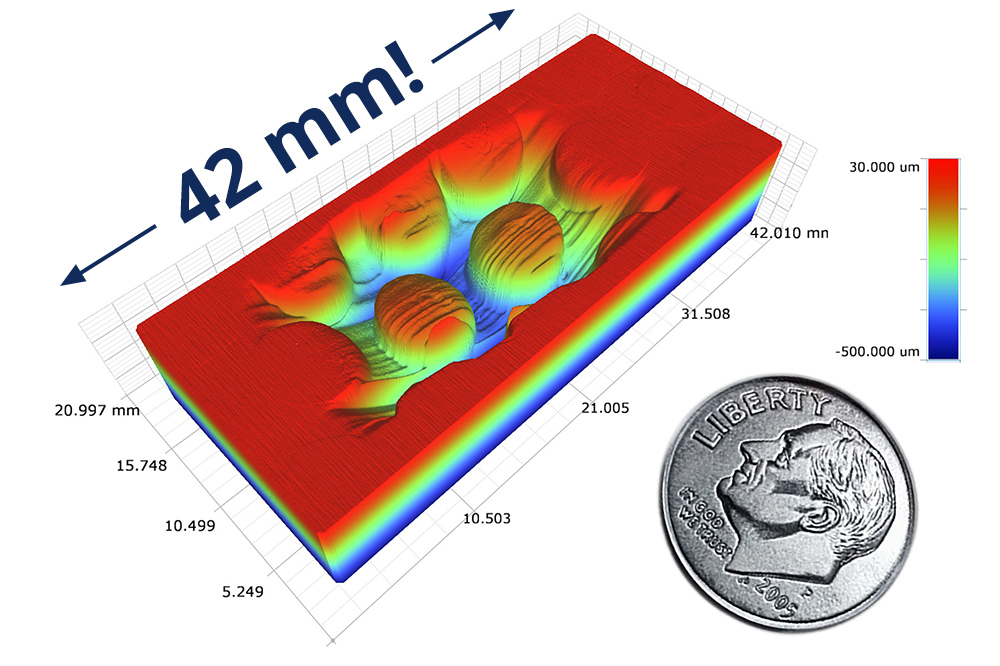
A massive 20 x 40 mm stitched, high-resolution surface map.
How can 3D surface texture measurement help you solve your product development or production challenges? Contact us today—we’ve been at the center of 3D measurement development for over 30 years, and we’d be glad to help out!
