Michigan Metrology – Surface Texture Measurement, Consulting, and Classes
“I highly recommend your service.” – Aerospace Engineer
Michigan Metrology provides surface roughness measurement, analysis, and training, to solve problems related to wear, surface finish, flatness, sealing, vibration, noise, and more.
Our clients range from small, exciting start-up ventures to Fortune 500 companies in the automotive, biomedical, and materials industries. We are constantly working on projects to address new product development and warranty issues, as well as sharing our expertise through in-person and on-line training.
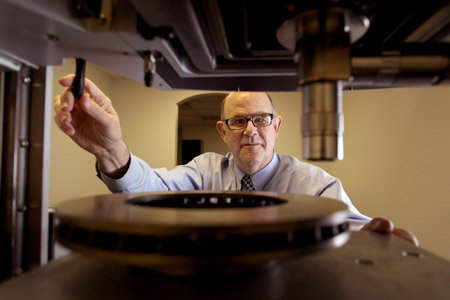
Michigan Metrology was formed in 1994 by Donald K. Cohen, Ph.D., to provide 3D surface finish and wear measurement and analysis services. Using the NP Flex 3D Optical Profiler from Bruker Corporation and a host of advanced analysis software, Michigan Metrology provides measurement and analysis to solve surface-related development and manufacturing process problems.
Watch a video introduction to Michigan Metrology
Dr. Cohen continues to provide Michigan Metrology with leadership and expertise. His background is primarily in the physical sciences, with a B.S. / M.S. in Physics and a Ph.D. in Optical Sciences. Prior to forming Michigan Metrology, Dr. Cohen was V.P. of Engineering at WYKO Corporation (now part of Bruker Corporation), developing surface metrology instruments. Dr. Cohen is a co-inventor of the technology comprising Bruker’s optical profilers. He served as Vice Chairman/Chairman of the ANSI/ASME B46.1 Surface Texture Standards committee from 2000-2011.
We talk more about our commitment to continued learning in our Surface Roughness Analysis post, A little tribology every morning.
Benefits of Working with Michigan Metrology
“It’s hard to top the great service you provide.”
Chemical Engineer
Michigan Metrology has been solving surface roughness related problems for almost 30 years. When a production, quality, or warranty issue arises, we provide reliable data and expertise to help you make informed decisions.
- Rapid Response
- Quantitative Answers
- Personal Attention
- Expert Analysis

We’ve been part of many hot warranty and line-down process teams, so we know how to solve problems quickly, under challenging conditions.
When you find that a particular process problem, warranty issue, failure mechanism, etc., is being debated but not resolved, Michigan Metrology can provide you with the quantitative answers you need.
Projects with Michigan Metrology typically take 1 week or less to complete. When necessary, projects have been completed within 24 hours. Answers may be available within hours of receiving the samples.
“You went out of your way to complete the job on time.”
Automotive Engineer
Certification
Consistent with ISO 17025 requirements, the instrumentation used for measurement carries a current “Certificate of Compliance”.

