Michigan Metrology’s measurement consulting services provide expert advice to help you understand, and address, the causes of wear, vibration, squeaks, leaks, and more.
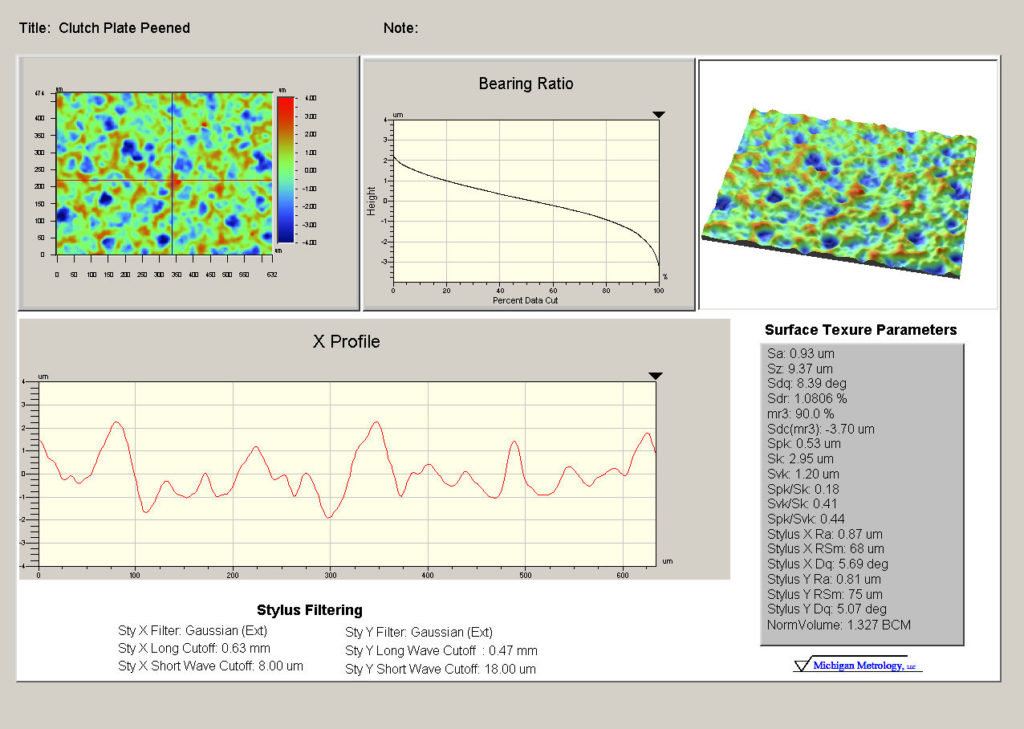
Many times, a critical process change or warranty issue may be related to a component’s surface texture. For example, clutch and brake surfaces may have similar surface texture average roughness (Sa) but may perform quite differently.
Michigan Metrology provides the surface roughness measurement data you need to quantify issues, understand their causes, and develop specifications to control and eliminate the root issues.

Measure Wear
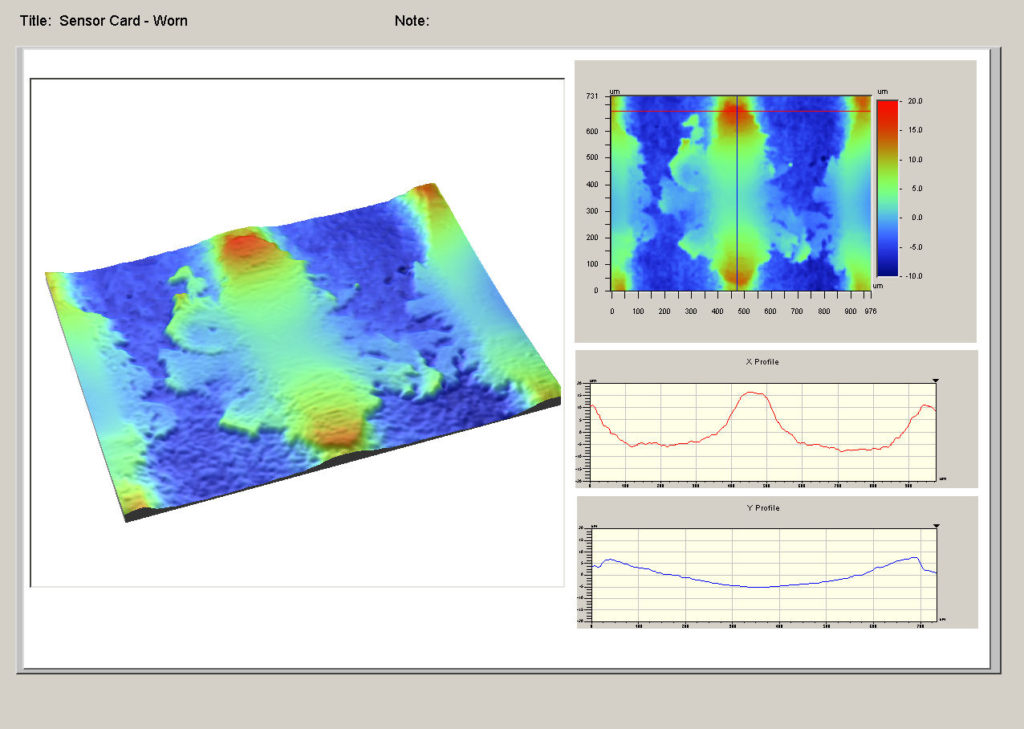
When components wear prematurely in the field there is a potential for high warranty costs and serious safety concerns. For example, electronic sensors and switches like the one below typically have a mechanism involving a sliding contact between two elements, which may fail if either experiences excessive wear.

Michigan Metrology provides the 3D surface roughness measurement of the surface, resulting in a number of parameters that characterize the various features of the surface such as height distributions (Sa, Sq, Ssk, Sku,…), peak heights/valley depths (Spm, Svm, Spk, Svk, …), spatial information (λq, Δq, Slopes) and advanced analyses (PSD, Volume, Surface Area, Fractals).
We provide 3D quantitative depth measurements of the wear patterns in various components. Our surface roughness measurement services have been used to analyze field returns and to quantify the wear rates for new designs.
