For surface roughness measurement, it would seem like “non-contact” methods would always be preferable. After all, being able to measure a surface with no possibility of contact damage would always be appealing…right?
As usual, the actual answer is a little more complex.

When non-contact is preferable
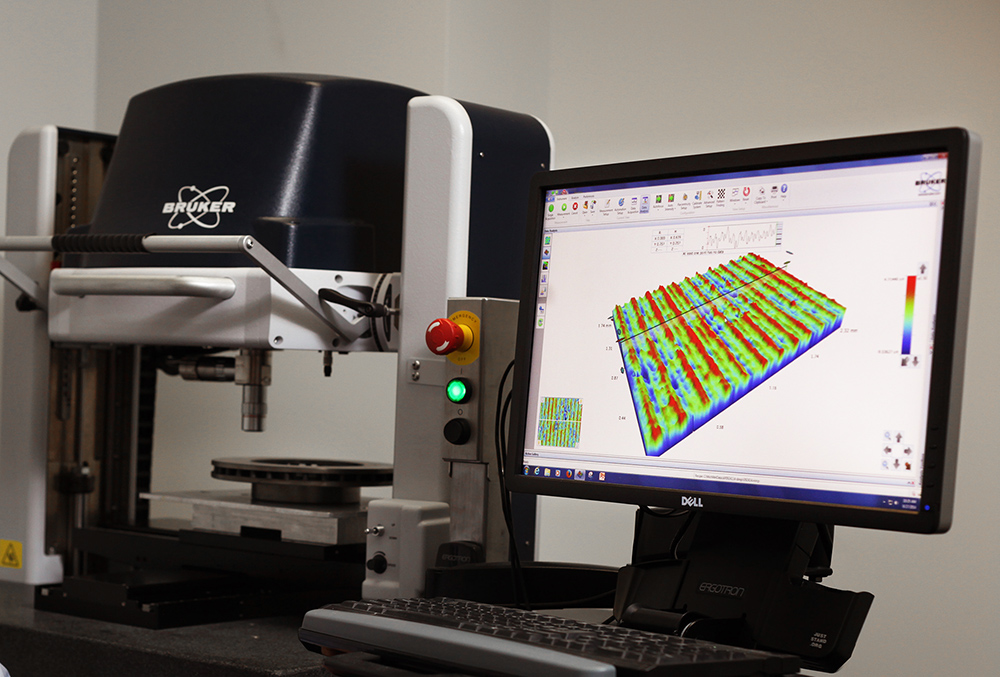
Non-contact measurements are typically made using optical methods such as laser interferometry, optical profiling, structured light, confocal, etc. Unlike contact methods such as stylus profilometry, the measurement optics do not need to contact the surface to be measured, which is particularly valuable in the following applications:
Critical surfaces
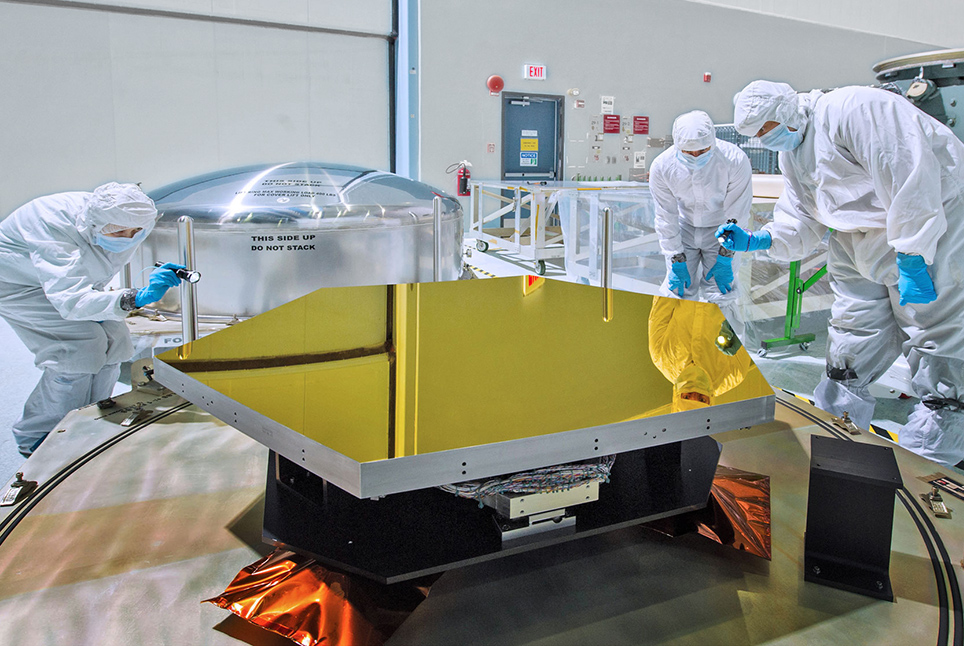
Many delicate, precision surfaces are too valuable to risk contact measurement. Take the example of a large component for a telescope. After investing millions of dollars to polish the surfaces to nanometer tolerances, a company may be reluctant to allow any contact with the surface, let alone a sharp stylus.

Measuring soft materials
Polymers, biological samples, and other soft materials are susceptible to deformation from a measurement stylus. The deformation could alter the measurement data, or worse, it could permanently damage the surface. The degree of risk is a case-by-case concern and will depend on the material hardness, the stylus radius, the required surface finish, etc.
Difficult-to-access measurements
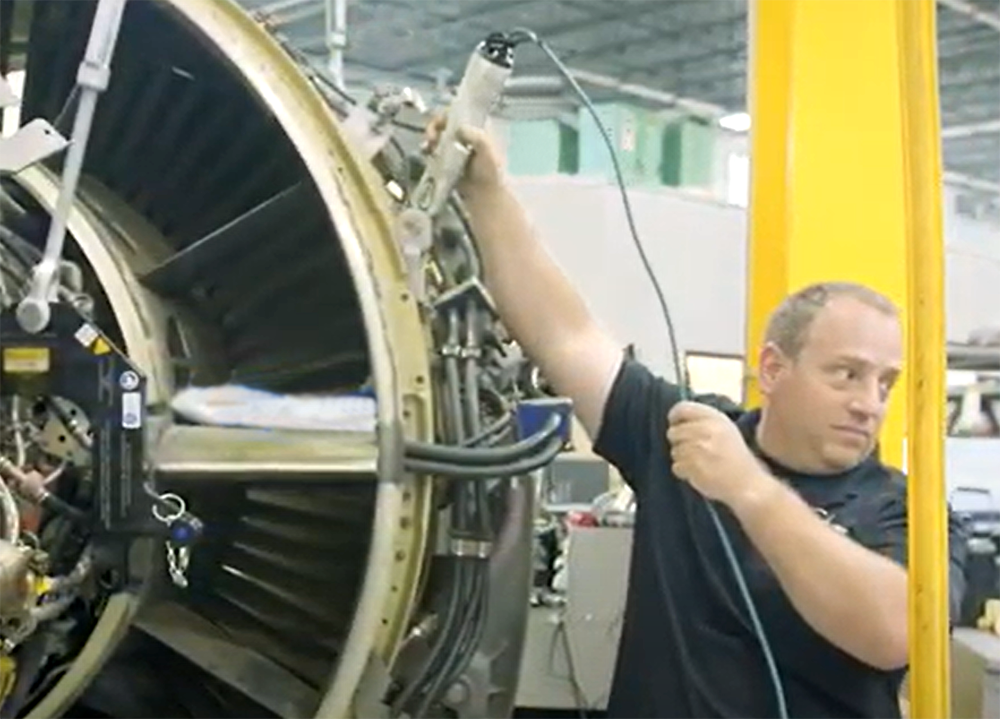
Some locations on a component such as the bottom of ball seat, recesses, areas under flanges, etc. can’t be easily reached with a stylus, (using a stylus is not good on replicate materials), Optical methods may provide an alternative. Handheld optical instruments, such as 4D Technology’s 4D InSpec or GelSight’s handheld instruments enable a range of measurements with sufficient resolution in production environments.

3D measurements
Most non-contact measurement methods also tend to produce areal (3D) data, rather than the 2D trace of a stylus. Areal (3D) data is required when you need to assess aspects of the texture that you cannot discern from a single trace, such as directionality, pits and porosity, etc. Optical methods typically provide areal data.
When high repeatability is required
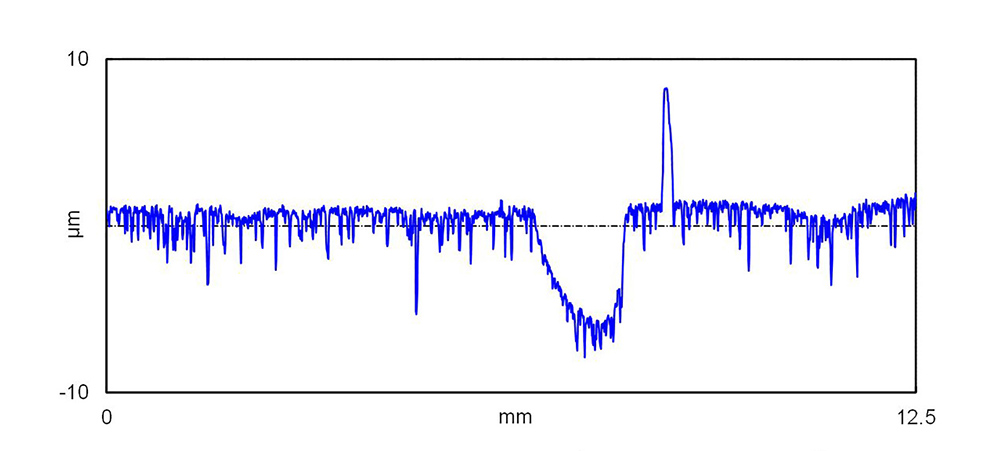
A stylus typically traces a single profile across the surface. It’s nearly impossible to trace the exact path twice, and thus measurement parameters tend to shift from measurement to measurement. If the surface has many peaks or valleys, dirt, etc., two traces across it may produce dramatically different results, even if they are acquired in nearly the same location. Optical methods tend to be less susceptible to outliers, making it easier to make repeatable measurements, even if the field of view changes slightly from one measurement to the next.
When mechanical artifacts are an issue
When a stylus traces over a surface it may induce artifacts as it encounters dirt, sharp peaks, large steps, etc. In The Surface Texture Answer Book Musolff and Malburg outline a number of artifacts that can occur both with a “skidded” or a “skidless” stylus. Because optical systems don’t actually contact the surface, they are not susceptible to these types of issues (though surface dirt will still be included in the measured surface).
It’s important to note that optical methods are not immune to measurement artifacts. Issues such as “batwings” and slope limitations may cause issues of their own., though newer technologies (e.g., VXI, USI) are being developed to minimize these artifacts.

When “contact” measurement may be preferable
While non-contact optical measurement methods offer many benefits, stylus measurement also has its advantages. Optical systems are often more expensive then stylus systems. They also may require more advanced training. In many cases optical techniques may be more susceptible to vibration, because the mechanical loop between the measurement optics and the test part is larger.
Also important is the size of the measurement area. Optical systems acquire millions of data points in one measurement, but only over a very small field of view. If you need to measure larger features or longer-spatial-wavelength waviness, the field-of-view is simply too small, and a stylus will be a better choice.
Ultimately, the choice of measurement instrument will be decided on a case-by-case basis. In addition to the concerns described above, the decision will also need to take into consideration the measurement environment, measurement specifications, and the measurement equipment that is already available.
Want to learn more about measurement instruments and there strengths and limitation? Consider the Surface Finish, Introduction, Instruments & Correlation module of our Surface Roughness, Texture, and Tribology course, available on udemy.com. The complete course will also be held live, in-person, May 3–5—find out more!
