Over the years we’ve shown these images frequently on our website (which has just been updated, by the way!). Taken together, they sum up the kinds of issues we see—and help solve—every day.
Ever wondered what these measurements are actually showing? In today’s post we take you “behind the curtain” to see the story…
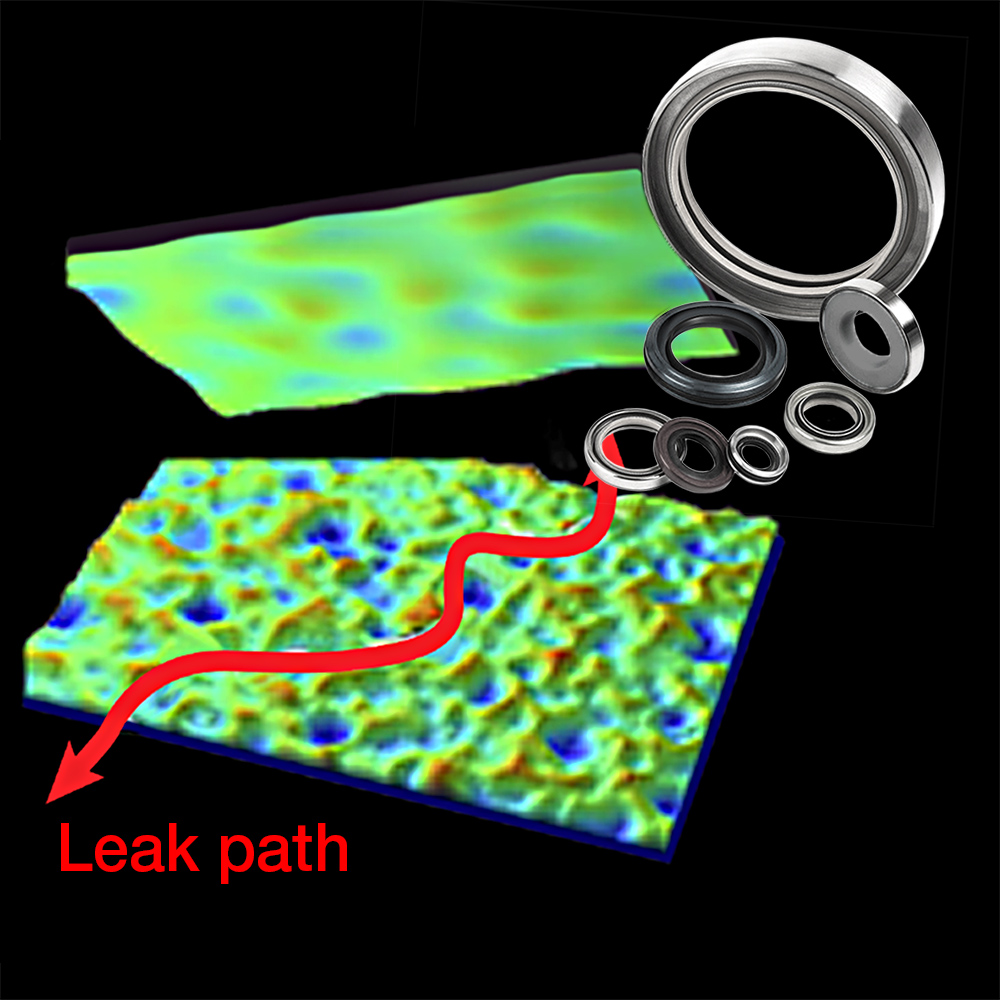
Leaks
This image shows measurements of a polished metal surface and a rough, rubber elastomer—the kind of interface you might find in a gasket or seal for an engine or drive train application. Surface roughness parameters such as Rsm, Str, or Sal can describe the sealing surfaces. The ratios Spk/Sk and Svk/Sk can also be useful.
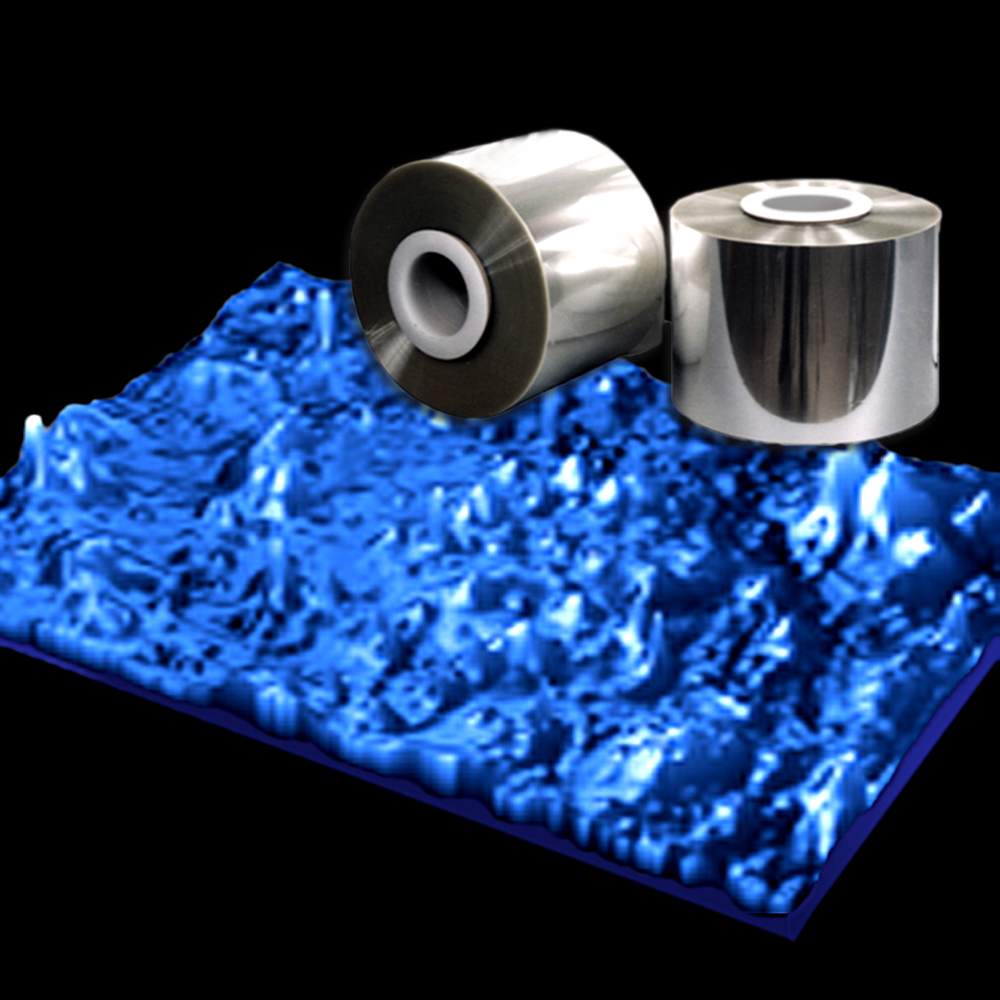
Adhesion
This is the surface of a polymer film used in the converter industry for food packaging. Manufacturers in this case were concerned with how well label ink would adhere to the film, to ensure that it would not peel or flake during shipping or shelf life. The adhesive qualities of a surface can be described with parameters such as Sds (number of summits per unit area), and Ssc (the radius of the summits likely to contact a mating surface).
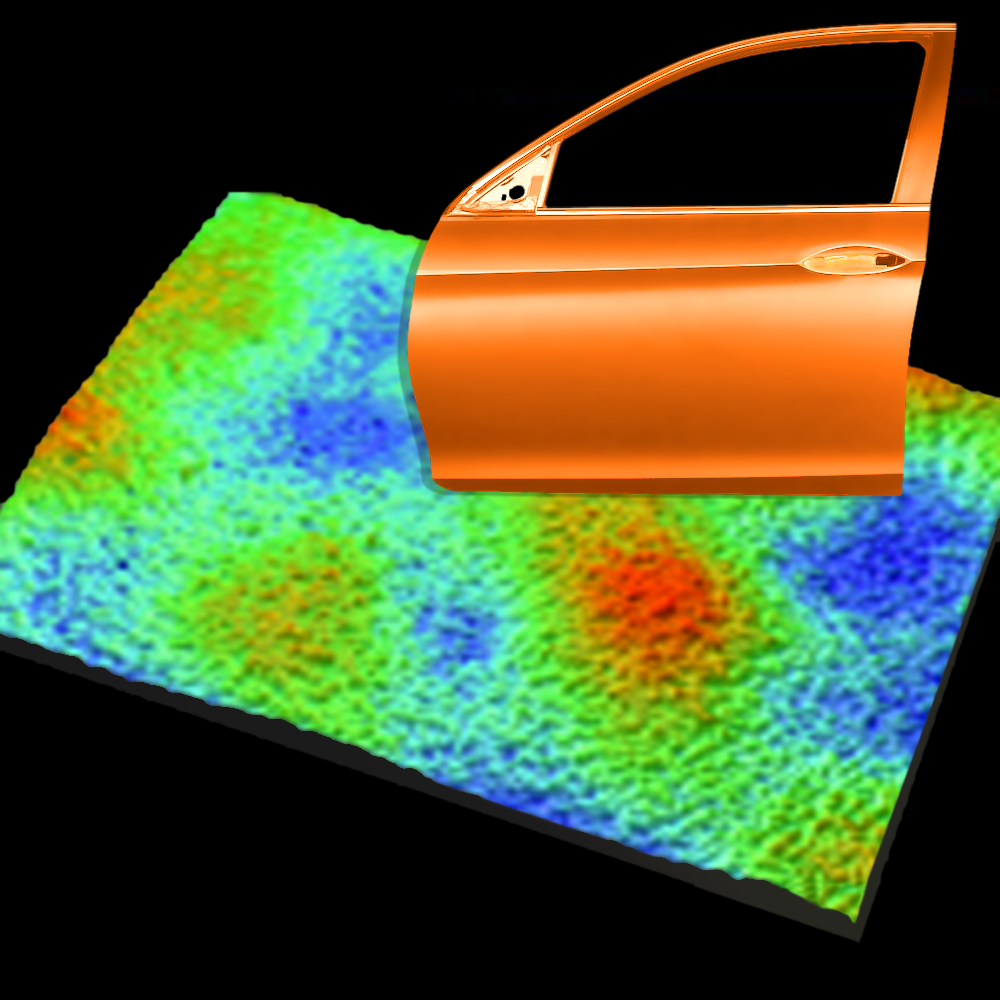
Appearance
Paint and coatings represent one of the largest costs for manufacturing a vehicle. This data shows the surface of a painted car door—but it could also represent the finish on a faucet, or a dishwasher, or any number of coated surfaces. You can read about paint and coating applications in our blog post, “Multiscale surface texture analysis in action.”
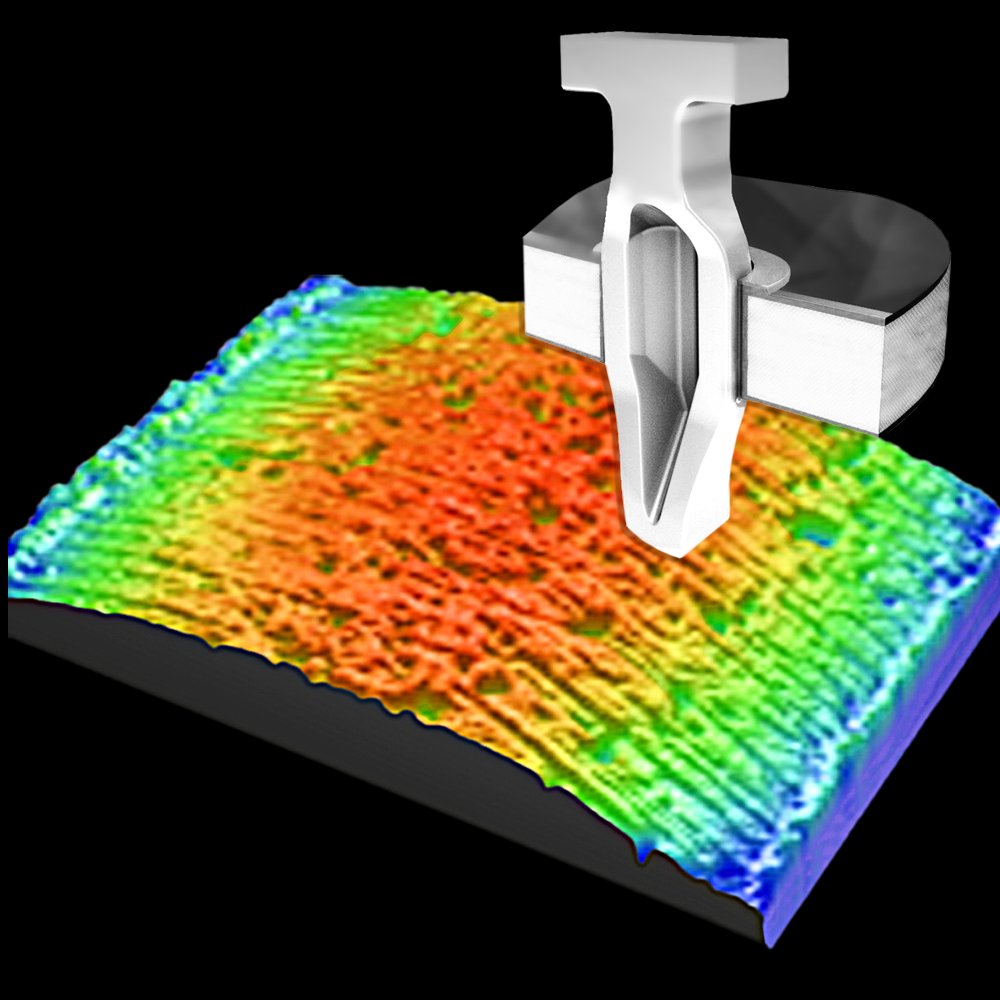
Fit
Precision mating components, such as this press-fit electrical connector, must fit and function perfectly straight off the assembly line—and they must function just as well for the entire lifespan of the device.
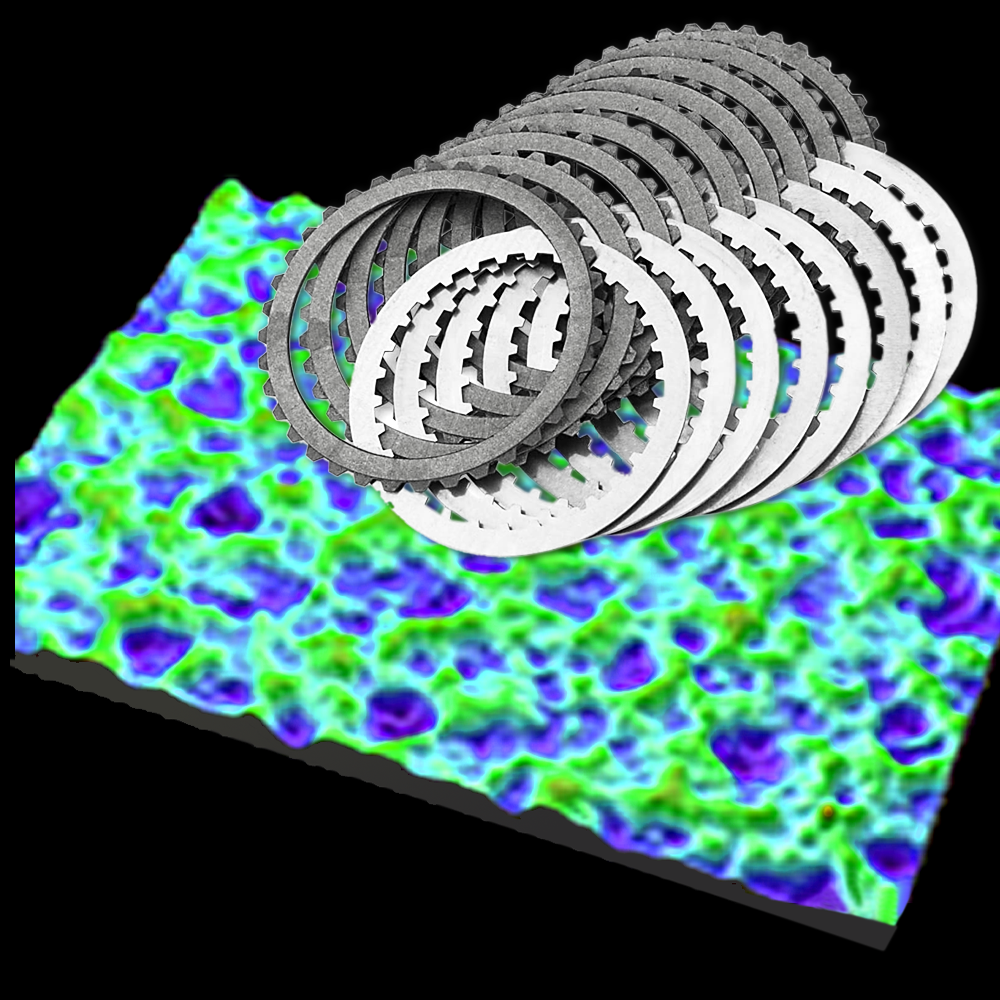
Friction
This is data from a shot-blasted separator plate in a clutch mechanism. Friction-related roughness is held to tight tolerances to ensure smooth clutch operation. You can read more about the measurement of clutch plates in our Surface Texture Analysis Blog article, “Analyzing steel clutch reaction plates.”
Squeaks
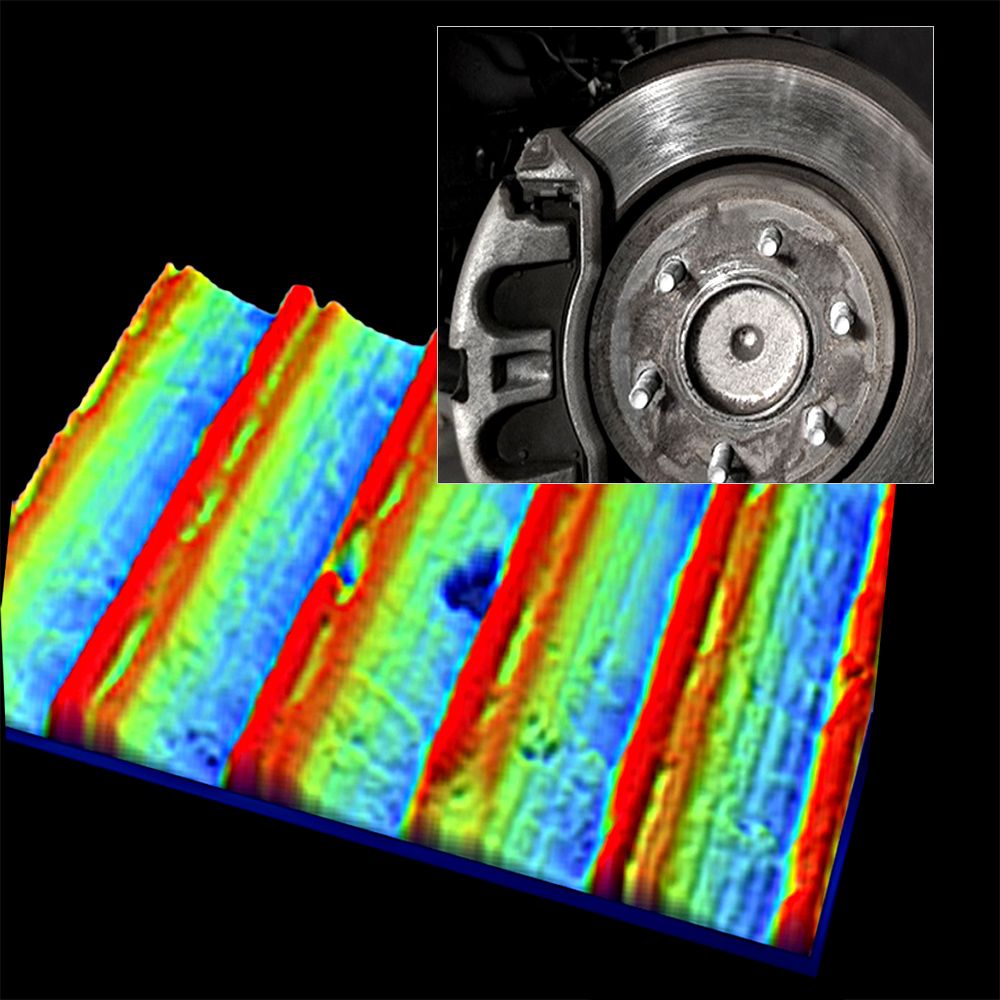
This surface texture on a brake rotor was largely responsible for a squeaking issue. In many cases, squeaks and squeals may be related to 3D surface roughness. Surface measurement parameters such as Amplitude Symmetry (Ssk) and Surface Slope (Sdq) may point to the cause.
Noise
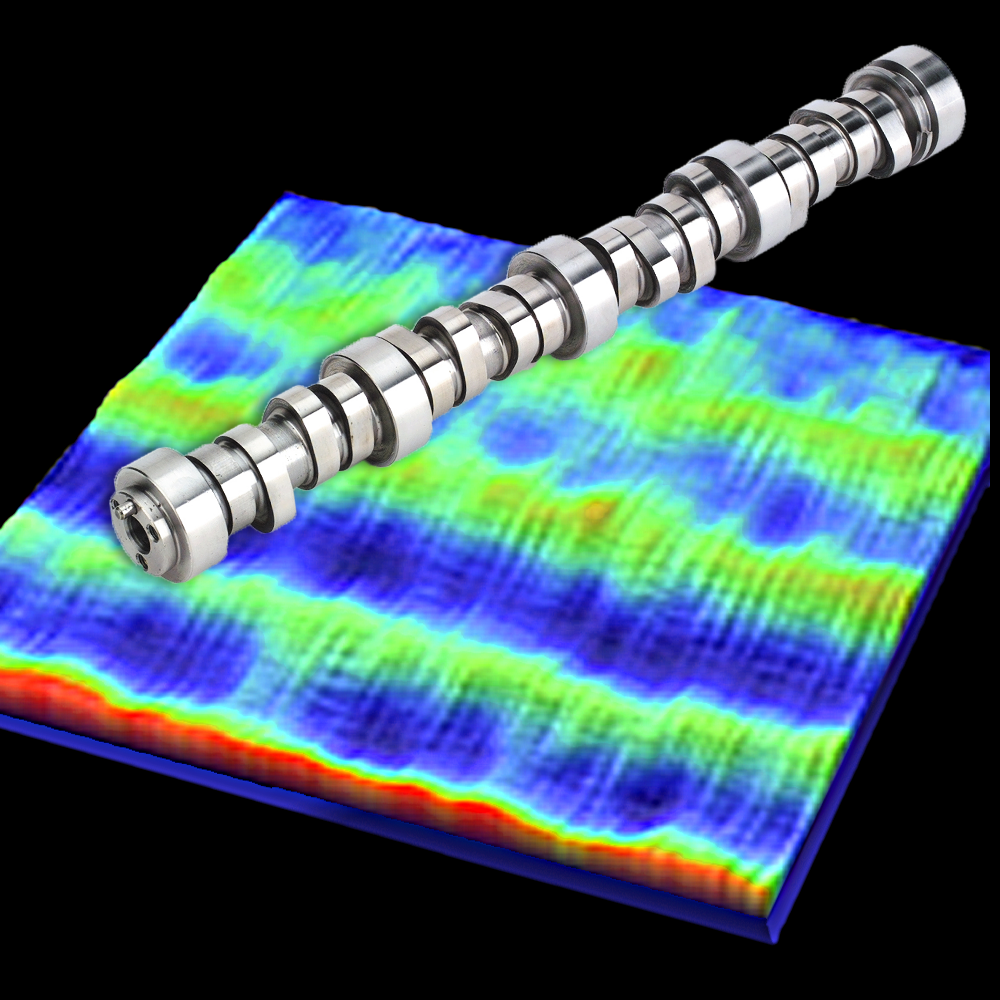
Noisy components are one of the most frequent quality and warranty issues. Chatter on a cam shaft lobe was the source of this surface texture—and the source of a noise issue as well. You can learn more about how surface roughness can lead to noise in our Surface Roughness, Texture, and Tribology short course, which is available both live and online, or as custom training for your company.
Vibration
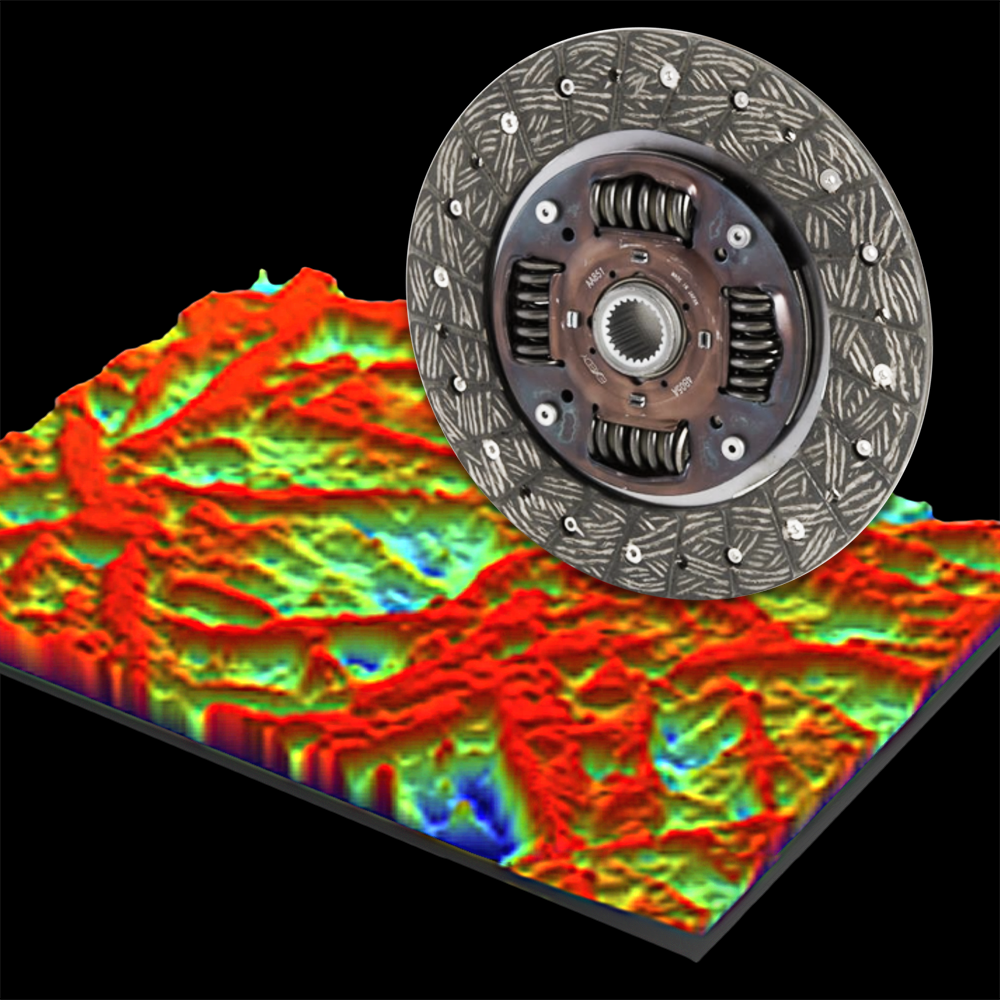
Shudder in a car’s systems can give an impression of poor quality and can lead to noise, vibration, and premature wear. This data is a measurement of a clutch friction plate, made from paper or carbon fiber—the surface that would mate with the separator plate in the Friction image above.
Wear
This wear scar was formed during accelerated wear testing to simulate the action of a piston ring rubbing against the cylinder wall of an internal combustion engine. Learn more about wear mechanisms in our blog post, Wear means “material removal”…doesn’t it?

Have any questions about these images or anything related to surface roughness measurement? Contact us—we’re always happy to help!
